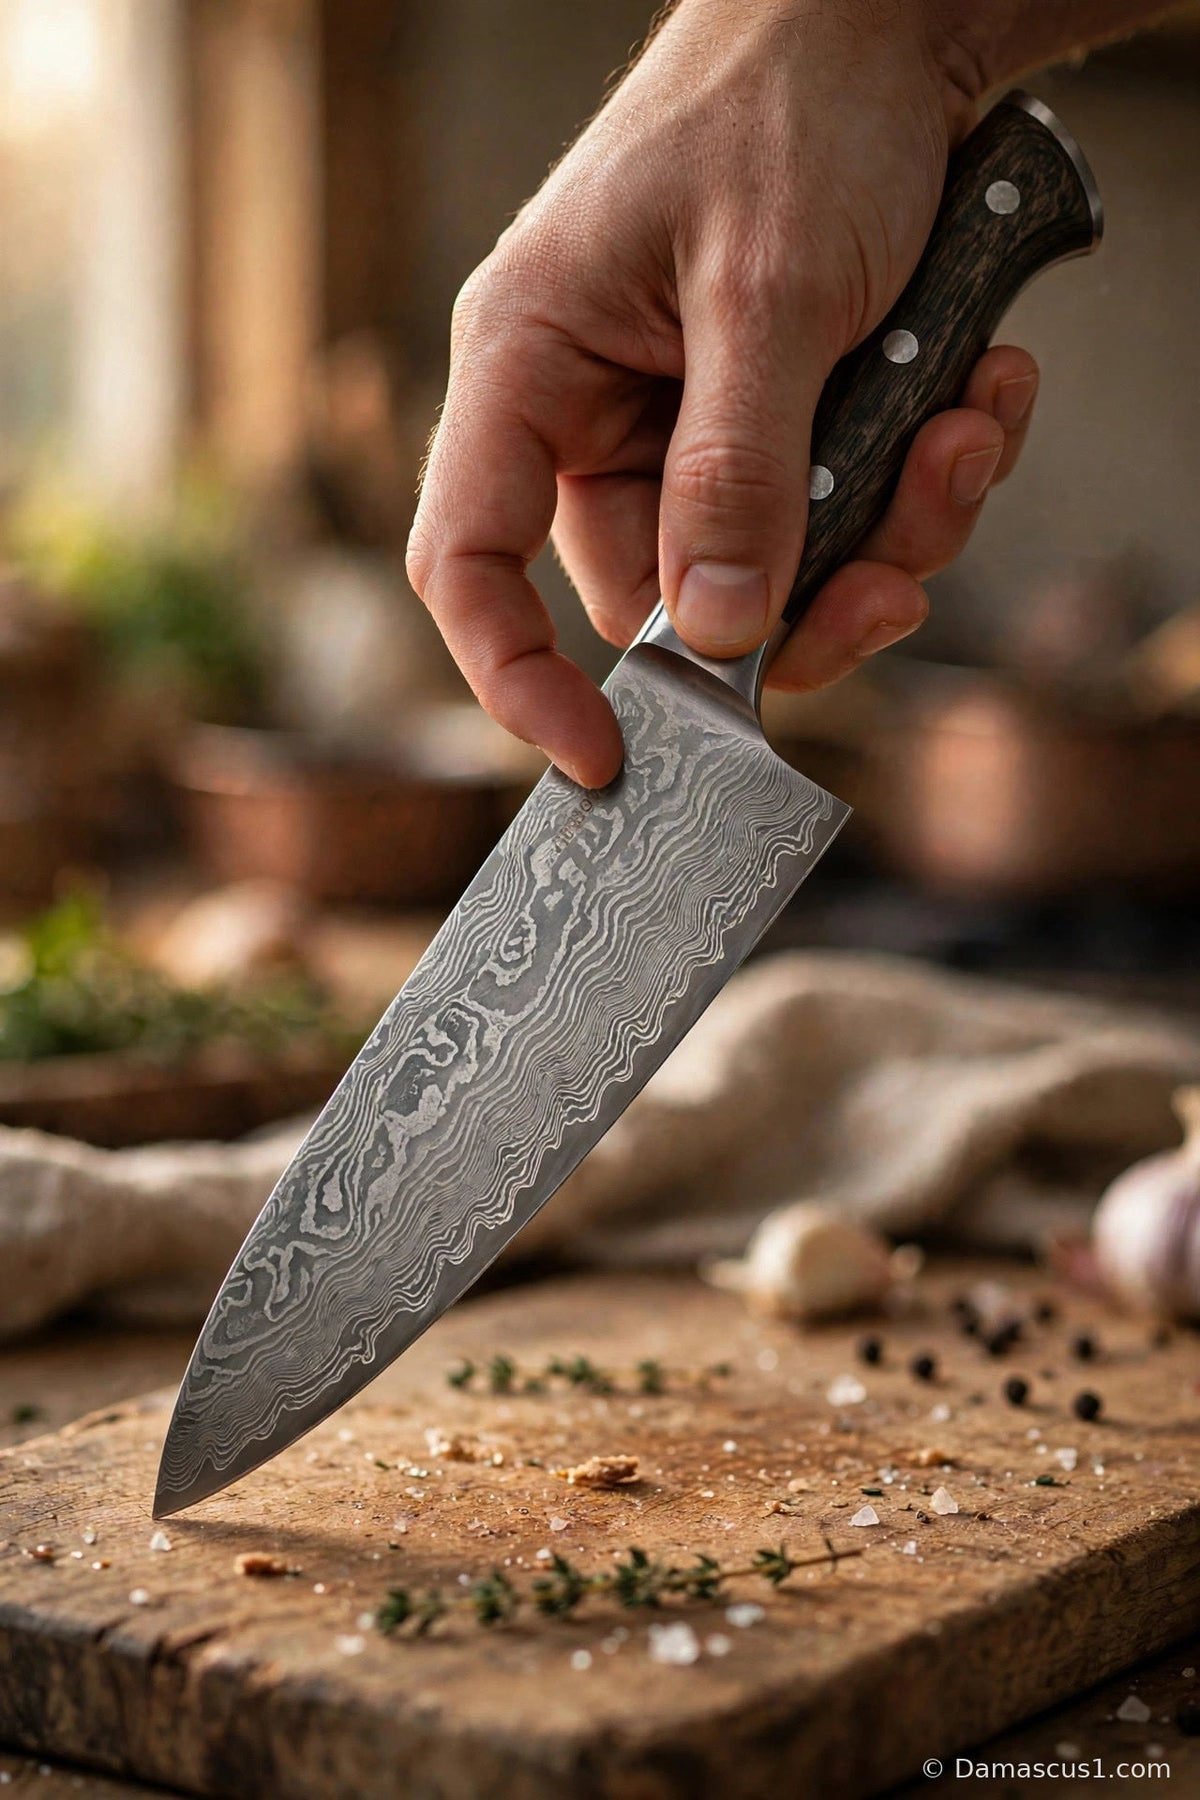
A controlled grip and stable preparation area are useful starting points for learning to use a chef knife. This overview explains common pinch and claw grips, then connects them to questions about fit, shape and purchase terms. It does not diagnose the cause of an injury or establish one technique as suitable for every knife and every person.
Here is the short version. Grip the knife with a pinch grip: thumb and index finger pinch the blade flats just ahead of the handle, your other three fingers wrap the handle, and your wrist stays straight and relaxed. Your other hand forms a claw, fingertips curled in and knuckles forward, so the blade flat rides against your knuckles while your fingertips stay tucked behind them. Two hands — one steering, one guiding — are the whole foundation.
This guide walks through both grips step by step, when a simpler handle grip makes sense, how your hold changes on a nakiri or a smaller blade, the motions that pair with a good grip, and the mistakes that lead to cuts. It finishes with short drills you can do with a carrot and a cucumber, no speed required. If you are also choosing a knife to learn on, browse the chef's best kitchen blades collection alongside it — a balanced knife with a handle that fits makes every step below easier to feel.
How do you hold a chef knife correctly?
 Editorial concept of a hand near a chef-knife handle. Illustration only; not a technical handling demonstration or a photograph of the exact product.
Hold a chef knife with a pinch grip on the knife hand and a claw grip on the guide hand. Pinch the blade flats between thumb and index finger just ahead of the bolster, wrap the remaining fingers around the handle without squeezing, keep your wrist neutral, and curl the guide hand's fingertips inward so your knuckles — not your fingertips — face the blade.
Knife balance and bolster shape vary. A pinch near the handle may offer useful control on a suitable chef knife, but it is not necessarily the exact balance point of every blade. Check the maker's instructions and keep every finger away from the cutting edge. A comfortable handle grip may also be appropriate for a particular knife or task.
The guide hand should hold the food without putting fingertips or thumb in the cutting path. A claw shape curls the fingertips back. It requires attention to the whole hand and the food's stability; it is not a protective barrier that makes contact with a moving blade harmless.
Two points frame everything that follows. A good grip is a relaxed grip — tension is fatigue, not control. And grip and sharpness work as a pair: a dull edge forces you to push harder, and pushing harder breaks good form, so keep the edge maintained; our whetstone guide to sharpening a Damascus knife covers that side in full.
What is the pinch grip, step by step?
The pinch grip means pinching the blade itself, not just holding the handle. Place your thumb flat on one side of the blade and the side of your index finger flat on the other, both just ahead of the bolster or handle. Then curl your middle, ring, and little fingers around the handle so the knife sits settled in your palm, wrist straight.
A different grip may feel unfamiliar. That is not a reason to push through pain, numbness, slipping or poor control. Put the knife down and reassess the tool, task and instruction. If you are unsure how to form a grip safely, seek a qualified demonstration rather than practising beside an exposed edge without guidance.
Work through it in this order, slowly, with the knife resting on the board:
Step 1 — Prepare the work area. Start with a stable cutting board, dry hands and a clear space. Keep the edge away from your hands when taking up the knife. Do not attempt to assemble a grip around an edge lying close to your fingers; use the exact knife's instructions and an appropriate demonstration.
Step 2 — Pinch the blade. Place the pad of your thumb flat against one side of the blade, just ahead of the handle, and the side of your index finger — not the tip, the flat of the first segment — against the opposite side. Pinch the steel between them: firm enough that the blade cannot rotate, light enough that your fingertips do not blanch white.
Step 3 — Support the handle. Wrap the remaining fingers around the handle where the model permits secure control. A bolster or handle front is not always a finger stop. Check where the cutting edge begins and keep your fingers clear of it.
Step 4 — Settle the handle in your palm. Let the handle rest settled diagonally into your palm, with no gap and no white-knuckle squeeze. Think of holding something secure but fragile: held, not crushed.
Step 5 — Check your wrist. Keep it neutral — straight, in line with your forearm, neither cocked up nor bent down. A bent wrist changes the edge angle without you noticing. If yours keeps bending, adjust your stance or board height before blaming your hand.
Step 6 — Check control without rolling the blade. Keep the knife securely supported in your full grip. Do not roll or balance an exposed knife using only a pinch. Put it down safely if you need to reset your hand or inspect the handle.
One caveat: the pinch assumes a blade with enough flat near the handle to hold. Most chef knives have it; narrow blades give you less, and the section on different knives below covers how to adapt.
What is the handle grip, and when does it make sense?
A handle grip keeps the fingers around the handle instead of on the blade flats. Its suitability depends on the knife, task and user. It is not automatically a lesser technique or something every beginner must abandon. Choose a grip that follows the tool's instructions and allows controlled work.
Do not use a grip label to justify forcing a blade through hard or unstable food. If the cut requires excessive effort, stop and assess the tool, edge and preparation method. A chef knife is not a universal tool for frozen food, bones or other hard materials.
A short, controlled demonstration can help you compare grip options. Avoid claims that every learner should reach the same technique within a certain number of meals. Practise only when the tool, work area and instruction are suitable, and stop before fatigue or poor control develops.
One caution applies to either grip: if your hand is tired, your hold degrades. Stop, shake your hands out, and reset rather than pushing through a tired grip on a sharp tool.
How does your guide hand work — what is the claw grip?
 Editorial concept of a guide hand beside food and a knife. Illustration only; not a technical handling demonstration or a photograph of the exact product.
The claw grip is how your non-knife hand holds food safely. Curl your fingertips inward like you are holding an invisible tennis ball, tuck the tips back, and present your knuckles as the forward-most surface. Rest the flat of the blade lightly against your knuckles as you cut, and walk the claw backward as each slice falls, keeping fingertips behind the knuckle line throughout.
Keep the entire guide hand out of the edge's path, including the thumb and little finger. Do not extend them beside the food where a slipping blade could reach them. Work with a stable piece of food and an appropriate technique; if the position is unclear, stop and obtain instruction.
The blade's relationship to your knuckles is the detail to get right. The flat side of the blade — not the edge, the broad flat — slides lightly against the front of your knuckles as the knife rises and falls. Your knuckles are a fence that sets slice thickness: walk the claw back a little between cuts for thin slices, more for thick ones. With fingertips curled behind that fence, the blade is guided past them — and your hand is quietly measuring for you, which is why slices get more even.
Learn the guide-hand shape without a knife first. For a cutting demonstration, use suitable food on a stable surface and an instructor's guidance. Do not lift an edge beside your knuckles as a no-cutting practice drill; a stationary or slowly moving blade can still injure.
Round foods deserve one extra habit: create a flat face first. Halve the onion, halve the potato, slice a thin slab off a carrot and rest it on that slab. A flat face plus a claw is a stable system; a claw trying to tame a sphere on its own is a compromise you do not need.
Finally, keep the guide hand honest. If your fingers creep forward mid-pile — and they will — stop and re-form the claw. Checking it every few slices is not beginner behaviour. It is the behaviour.
How should your grip change for different knives?
 Editorial concept of a hand holding a broad kitchen blade beside chopped vegetables. Illustration only; not a technical handling demonstration or a photograph of the exact product.
Match the grip and movement to the exact knife and task. Do not apply one pinch-and-claw routine universally to every paring, utility or vegetable knife. Blade height, profile, bolster and intended cutting surface differ. The maker's directions should guide the choice.
Start with the chef knife, the reference shape. Its curved belly invites a rocking motion, and the pinch supports that curve: your pinching fingers sit high enough to let the blade roll through herbs or garlic without lifting the tip far off the board. If you are comparing shapes before you buy, our guide to the best kitchen knives breaks down what each profile is for, so you can match the blade to the work instead of fighting it.
The nakiri is a different conversation. Its blade is tall and rectangular with a nearly flat edge, built for vegetables and a push cut — down, slight forward push, lift, repeat — rather than a rock. The tall blade gives your pinch more flat to hold, but the discipline changes: keep your wrist level, let the full edge meet the board with a soft tap, and resist rocking a blade that has no curve to rock on. The Nakiri Knife Japanese VG10 — $44.99 is the vegetable specialist in the current range, and on a nakiri the claw matters even more, because the tall blade sits close to your knuckles and rewards a tidy, consistent fence.
A narrower utility or paring knife may require a different hold and use than a tall chef knife. Do not move fingers closer to an edge just to reproduce a pinch. Check the instructions for the exact blade and obtain suitable training for in-hand work rather than transferring a board-cutting routine automatically.
Whenever you change knives, stop and identify the new blade's edge, grip area and intended motion before working. Use the new model's instructions. A quick reset is useful; a fixed ten-second drill is not a safety certification.
Which cutting motions pair with a good grip?
Two motions cover most everyday cutting: the rock chop and the push cut. In a rock chop, the tip stays near the board while the heel rises and falls, the blade rolling through food in a smooth arc. In a push cut, the blade starts above the food, pushes forward and down in one motion, then lifts clear and resets.
Use a cutting motion suitable for the blade and food, with controlled movement rather than added force. If cutting feels difficult, stop to assess the setup and condition of the tool. Do not assume a relaxed pinch alone corrects every problem or permits a knife to cut material beyond its intended use.
The push cut suits firmer, taller food: carrots, potatoes, thick cabbage, a nakiri's flat edge. Start with the edge above and slightly behind the food, then push forward as you bring it down, so the blade slices as it descends instead of landing straight and crushing. Finish with the full edge meeting the board lightly, lift the blade clear — never drag it sideways to gather food, which dulls edges — and reset your claw before the next stroke.
Whatever the motion, the rhythm is the same loop: cut, lift clear, walk the claw back, check its shape, cut again. It sounds slow written out. In practice it becomes a steady cadence quickly, and steady beats fast at every level, because a steady cook rarely has to stop to fix a mess — or worse.
Work on a stable board, too: if yours slides, put a damp cloth or non-slip mat underneath. A moving board forces mid-stroke corrections, which is exactly when a good grip breaks down.
Which handling checks are useful before cutting?
 Editorial concept of hand positions near a kitchen knife. Illustration only; not a technical handling demonstration or a photograph of the exact product.
Inspect the work area, food stability, hand position, handle condition and blade before starting. These checks can help identify problems; they are not an injury-causation study or an exhaustive explanation of every cut or near miss.
Use the table as a preparation checklist, not a diagnosis. The exact knife's instructions and an appropriate demonstration take precedence over general advice. Stop if your control changes, and never treat a familiar grip as protection against an exposed edge.
| Check | Before continuing |
|---|---|
| Hands and handle | Stop if slippery or control is insecure |
| Guide hand | Keep fingertips and thumb outside the edge's path |
| Food and board | Use a stable surface and suitable, stable food |
| Grip and comfort | Follow model guidance; stop for pain or poor control |
| Clearing the board | Use a suitable scraper and avoid bringing an edge near fingers |
| Tool and task | Do not force a blade through material beyond its intended use |
Finger placement depends on the knife and task. For the chef pinch described here, the thumb and index finger contact the blade flats near the handle, clear of the edge. Other tools may have other intended grips; do not turn one chef technique into a universal rule for every knife.
The wet handle is the most underestimated of the rest: a handle that felt solid on a dry carrot can turn treacherous on the third tomato. The moment a stroke feels uncertain, stop, dry everything, and restart.
Which knives make learning the grip easier?
For an online purchase, compare the handle dimensions, blade height near the handle, bolster and intended use. Product photographs can help identify questions, but cannot establish fit or comfort for you. The following listings are starting points to inspect, not products tested or independently ranked by this guide:
G10 Handle Chef Knife — Inspect the current model's shape, handle information and instructions before choosing a single knife. No grip-comfort result is established here.
Nakiri listing — A separate vegetable-knife option. Confirm its dimensions, blade material and recommended cutting motion on the current page rather than copying another model's details.
Kitchen block-set listing — Check the actual contents and ask about any conflicting steel or piece-count descriptions before ordering. A model title is not a complete packing list.
Compare any larger block set on its own current product page. Confirm which cutting knives, block, shears and other accessories are included, and which dimensions and care instructions apply to each. A set's total piece count does not establish that every included item is a knife.
Whichever knife you learn on, protect its edge: a neglected edge demands force, and force corrupts form. Store blades covered or in a block, wash and dry them by hand, and dry patterned steels promptly; our explainer on whether Damascus steel can rust covers the habits that keep a blade sound.
How can you practise the grip safely at home?
 Editorial concept of vegetable preparation on a cutting board. Illustration only; not a technical handling demonstration or a photograph of the exact product.
Practise the guide-hand shape without a knife before learning cuts with suitable instruction. Short, slow sessions can help you attend to positioning, but there is no verified promise that a fixed drill schedule rewires a habit within a week. Stop when tired or uncertain rather than repeating an unsafe movement.
Grip setup. Learn the grip from a qualified demonstration or the exact knife's supplied guidance, keeping clear of the edge. Put the knife down safely before resetting your hands. Do not measure progress by a prescribed number of repetitions with an exposed blade.
Guide-hand shape, without a knife. Practise curling fingertips back while keeping the thumb clear of the intended cutting path. Use a stable piece of food if appropriate. The exercise is about hand positioning; do not assume a thumb or little finger beside the food is automatically protected.
Beginner cutting. Choose suitable, stable food and an appropriate knife, with instruction if needed. Avoid starting with a round, rolling carrot. Do not turn your attention away from the edge during a stroke to inspect your other hand; stop the movement before checking or resetting.
Drill 4 — The dry-hands reset. Mid-drill, pause, wash and dry your hands and the handle, and rebuild both grips. It feels too simple to count, and it is the drill that protects you on real cooking nights, when tomato juice and momentum conspire. Make the pause a reflex now, while nothing is at stake.
End practice if you become tired, distracted or uncertain. A routine should support continued attention rather than replace it. Familiarity does not make a sharp edge harmless or justify working automatically near the guide hand.
How do you know if a handle fits your hand?
Fit is individual. The useful question is whether you can maintain controlled movement without pain, stretching, slipping or repeated insecure repositioning. Photos and a material name cannot settle that. Ask about dimensions and a suitable inspection opportunity before purchase.
If you can inspect a knife, follow the seller's safe handling procedure and the maker's instructions. Check grip and clearance without waving or rolling the exposed blade to test balance. Ask for a demonstration if you cannot judge a handle safely.
Length matters too: too short crowds your fingers against the bolster; too long knocks the butt against your wrist while rocking. And balance matters more than raw weight — a knife held at its balance point should feel almost neutral.
If you shop online, ask the fit and specification questions before ordering. Do not assume you can cook with the knife for a week and return it for a preference change: the current refund policy requires an eligible product to be unused and in original condition. Clarify any permitted inspection process with the seller first.
Frequently asked questions
Where does the index finger belong for a chef pinch grip?
For the pinch grip described here, it contacts the blade flat near the handle opposite the thumb, clear of the edge. Follow the model's instructions. This does not establish that one finger position is correct for every knife and every cutting task.
Is the pinch grip uncomfortable at first for everyone?
Unfamiliarity is possible, but pain, numbness or poor control should not be treated as something to endure for a week. Stop and reassess the tool and instruction. This guide cannot diagnose persistent discomfort; seek appropriate professional advice when needed.
Can you use the claw grip with small hands or short fingers?
Hand size alone does not establish suitability. The knife, food, grip and user all matter. Keep every fingertip and the thumb out of the cutting path, use stable food, and seek a demonstration if you cannot form a controlled position. Do not force a grip to match an illustration.
What should you do if the knife slips in your hand?
Stop cutting immediately. Set the knife down, wash and dry your hands and the handle, dry the board area, and rebuild your grip from scratch. Never try to catch or correct a slipping knife mid-stroke. If slipping repeats, check for a greasy handle, a wet board, or simple hand fatigue.
How tight should you actually hold a chef knife?
Maintain a secure grip without unnecessary squeezing. Do not deliberately wiggle the knife in your fingers to test pressure or balance. Stop and set it down safely if your hand becomes tired or control changes.
Does grip matter as much with a very sharp knife?
Grip, edge condition, work setup and attention all matter. A sharp knife still requires careful handling and suitable use. Sharpness is not permission to move faster or bring fingertips closer to the cutting path.
What should you do next time you pick up a knife?
Start by checking the correct tool, stable board, dry handle and suitable hand position. Use an appropriate technique at a controlled pace, and stop to reset whenever something is uncertain. A written guide or editorial image is not a substitute for a model-specific demonstration when you are learning.
Compare current options in the kitchen collection and the kitchen-set comparison, then ask about fit or missing specifications. Read the shipping policy and return conditions before ordering. Delivery estimates depend on availability and the option selected; shipping fees are non-refundable under the current refund policy.
Sources, scope and the next buying question
Common chef pinch and claw concepts were checked against Shun's official grip and anatomy guide and ZWILLING's model-specific pinch-grip explanation on October 16, 2026. Their product construction and performance claims do not establish the specifications or fit of a Damascus1 knife. This is general educational buying guidance, not an individual assessment or a record of hands-on testing.
For a purchase enquiry, send the exact product URL, selected option and the task you want it for. Ask for blade length, handle dimensions, measured weight, care instructions and the actual package. Where a steel or piece count conflicts, request clarification before payment. That written answer is more useful than assuming the model pictured in a general grip illustration is the one offered for sale.
Leave a comment: